How to Stretch Pizza Dough in 6 Easy Steps
If you’re new to stretching pizza dough, don’t worry! Follow these 6 easy steps to make it a breeze. Our team has used these techniques time and time again, so we want to share them with you. Using these tips will help you achieve a crispy and tasty crust. Keep reading to learn how to roll out pizza dough correctly!
Step 1: Make Your Dough
To make great Italian pizza like the ones in restaurants, it’s important to become skilled at creating pizza dough from scratch. Without the dough, you can’t have pizza. You can also read our article on 00 flour to get the best possible outcome.
Step 2: Bring Dough to Room Temperature
It is important to have your dough at room temperature before stretching it. If your dough has already risen for around two hours, it is likely already at room temperature. Therefore, there is no need to warm it for another 30 minutes unless it has just been made.
Can you explain why it’s important to use room-temperature dough? This is because the cold dough has tight gluten, which makes it stretch out and snap back like a rubber band. But when it’s at room temperature, the dough becomes more pliable and easier to shape.
Note: To make store-bought frozen pizza dough easier to work with, remove it from the plastic and transfer it to an oiled mixing bowl. Cover the bowl and let it sit in a warm place for 30 minutes. This will help it become more pliable.
Step 3: Prepare Your Workspace
Before stretching your dough, it’s a good idea to prepare your workspace. You can prevent the dough from sticking by sprinkling a bit of flour, or you can rub some olive oil onto your hands and the cutting board/sheet pan. This not only helps prevent sticking but also helps create a crispy and golden crust.
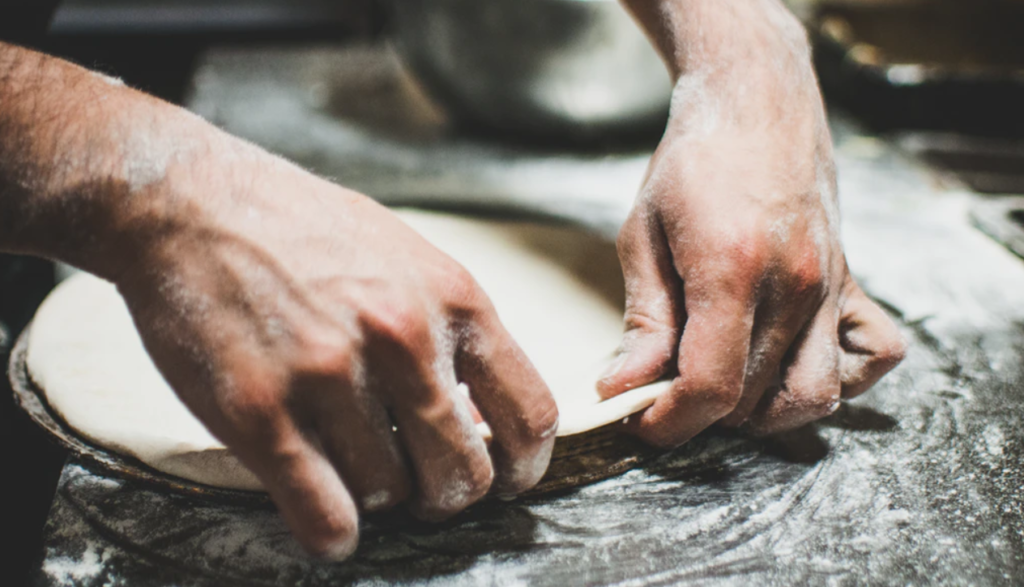
Step 4: Press Your Pizza Dough
To make rolling pizza dough easier, flatten it into a disc before stretching it. You can use the “Finger Press” technique by pressing down on the dough until it’s flat and gently continuing to press and move your hands away from each other to stretch the base outward. Try to keep the shape as circular as possible, as this will determine the shape of the pizza base once it’s fully stretched out.
Pro Tip: If you find that your dough is not stretching easily and keeps springing back, try letting it rest for 15-20 minutes. Some degree of shrinking is expected, but if it is excessive, you should give it time to rest and regain its shape.
Step 5: Stretch the Dough
If you’re new to stretching pizza dough, avoid using your knuckles or tossing the pie in the air. Instead, it’s best to use your hands to stretch the dough evenly.
Hold the dough with both hands by placing one hand on each edge and letting it hang down. The weight of the dough will aid in stretching it. Next, gently rotate it in one direction and slowly pass it from hand to hand as it continues to hang down.
The goal is to stretch it out to a diameter of approximately 11 inches and a thickness of ⅓ inch. Don’t be concerned if you see any thin spots or holes since they will be addressed in the following step.
Step 6: Stretch Dough on the Pizza Peel
After stretching the dough, transfer it to your prepared pizza peel or sheet pan with care. If the dough has a uniform thickness and measures about 10 inches in diameter, congratulations, you’re a pro! But if there are some uneven areas, don’t worry, you’re not alone.
In order to fix any tears in the dough, use your fingers to press the torn edges together. If there are areas of the dough that are too thick, use your fingers to flatten them until they are about ⅓ inch thick. Don’t worry if the edges of the dough don’t look thicker than the center as the toppings will weigh down the center and the crust will puff up while baking.
Conclusion
We encourage you to put our pizza dough stretching tips to use in your kitchen and practice them. With time, you’ll increase your proficiency, enjoy the activity, and yield delicious pizzas!