How to Clean Your Pizza Stone The Right Way
Whether you’re a mom trying to cook for picky eaters, a bachelor who enjoys pizza on game nights or with friends, or a professional pizza baker who likes to create gourmet pizza dishes for loved ones in your free time, we have you covered.
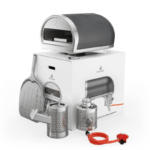
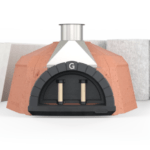
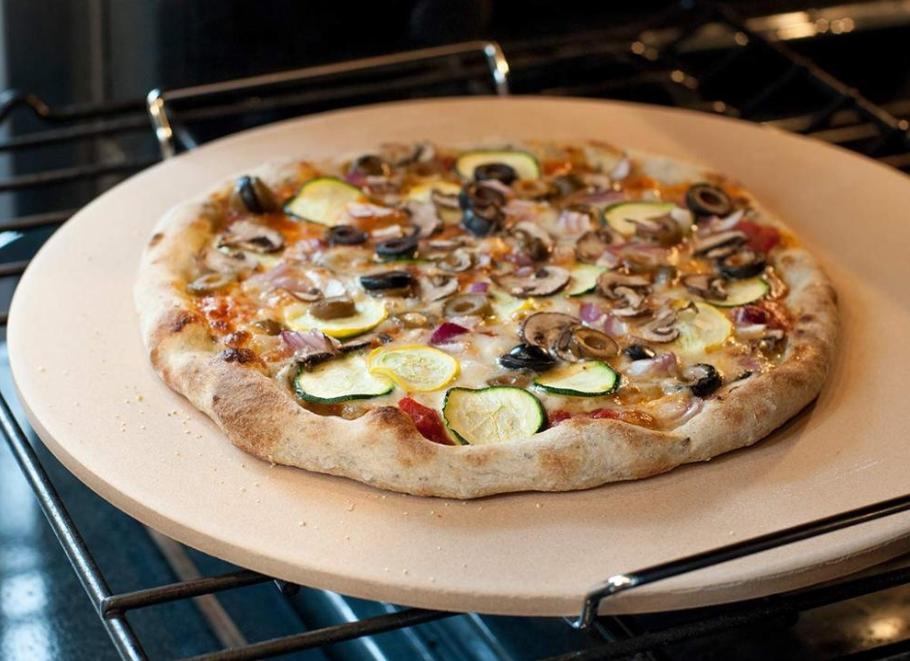
If you are a true pizza lover, it’s likely that you understand the significance of having a pizza stone in your kitchen. Pizza stones can replicate the results of a traditional brick pizza oven. Their porous surface absorbs and retains heat while also removing excess moisture from the pizza dough, resulting in a delectable crispy crust.
To ensure your pizza stone lasts for multiple uses, it’s important to take special care of it when cleaning. We have provided instructions below for properly cleaning your pizza stone.
Prior to Using Your Pizza Stone
Before discussing cleaning, there are some important facts about your pizza stone that you should be aware of before using it for baking.
Avoid Oils
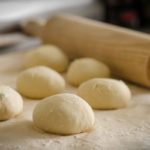
When you first receive the stone, it will be in a pristine state without any scratches or seasonings. When you want to start using it, you might think of putting oil on it, which is what you do when cooking other foods.
However, we want to advise you against doing so. Applying oil on your stone could lead to it smoking or burning while it’s heating up. To avoid this, you should let your stone develop a natural coating of seasonings that will happen after using it a few times. This will not only add flavor to your future pizzas but also prevent any unpleasant incidents from occurring.
Gradual Heat
To avoid cracking your pizza stone, it’s best to heat it gradually with your oven. Place the stone in your cold oven before adding the dough and let them heat up together until they reach the desired temperature. If you put a cold stone into a hot oven, it may crack and become unusable.
After Baking
Please do not attempt to clean the pizza stone immediately after use even if you feel like doing so. Wait for a few hours until the stone has thoroughly cooled down due to its strong heat retention properties. Once cooled, you can go ahead and clean it normally, but please keep the following tips in mind.
- – Avoid using soap on the stone as it can get absorbed by the pores, which could result in the soap affecting the taste of your future pizzas.
- – To avoid the stone absorbing water, please refrain from submerging it. If it does become waterlogged, it will require a full baking cycle to dry out and this will result in unnecessary electricity and energy consumption.
What You’ll Need
You can clean a pizza stone using materials commonly found in most households.
- – Spatula (plastic, not metal)
- – Baking Soda
- – Soft Cloth
- – Stiff-bristle brush (stone brush or toothbrush)
- – Water
The Cleaning Process
Here are some easy steps for cleaning your pizza stone:
- Lightly scrape: To avoid scratches, please use a spatula to carefully remove any food residue or melted cheese from the stone surface. Avoid using a knife or metal utensil.
- Wipe it down: Use a soft cloth to wipe off any leftover food.
- Make a cleaning paste: If there are still crusted food particles on your stone after wiping it, you can remove them by spot-treating them with a homemade paste. To make the paste, mix 1 tablespoon of baking soda with some water.
- Scrub: To use the paste, put a small amount onto the area where you want to apply it, and then use a brush to gently scrub in circular motions.
- Wipe again: Next, try moistening your cloth just a bit before using it to remove the sticky areas.
- Cook-off stubborn pieces: If there is still food stuck on your stone after spot-cleaning, you can place it inside an oven heated to 500°F for an hour. This will help to cook off any stubborn food residue.
- Allow it to dry: Please make sure to let your stone dry for 1 to 2 hours before using it again.
We assure you that cleaning a pizza stone is not difficult. Although the process may appear lengthy, it will become easier with practice.